Run FreeBSD, OpenBSD & NetBSD VMs in Incus

Not too long ago, I published a blog post all about Incus. In it, I gave an overview of the project, explained how it works, and showed how to create a cluster with it. After sharing it on social media, I started getting a lot of questions, and one in particular kept coming up: is it easy to run BSD-based virtual machines with Incus? Some people were even surprised to learn that Incus now supports virtual machines thanks to its QEMU backend. So I thought, why not follow up and walk through just how simple it is to get FreeBSD, NetBSD, and OpenBSD running using cloud images?
It’s actually a pretty smooth experience. The Incus tooling makes it fairly straightforward to work with VMs, and the BSD community provides ready-to-use cloud images that fit right into this workflow. This means there’s no need to manually install or configure these systems from scratch unless you really want to. Instead, you can just download a suitable image, import it into Incus, and launch it like you would with any Linux cloud image. In fact, the process is quite similar – once you get the hang of one, the others follow the same pattern.
Each of the BSD variants has its own quirks, but nothing that Incus can’t handle. Whether you’re testing software, trying out a BSD system for the first time, or running them in a lightweight environment for dev work, Incus gives you a reliable and repeatable way to get them going fast. And with the ability to manage them like containers or other VMs in your Incus cluster, it becomes a powerful way to work with a broader set of systems in a consistent way.
In this post, I’ll show you exactly how to set them up, what cloud images (big thanks to bsd-cloud-image.org) to use, and some little tips I picked up along the way. So if you’ve been curious about running FreeBSD, NetBSD, or OpenBSD with Incus, or just want to try something new, read on and it’s easier than you might think.
Installing incus-migrate
When looking online, you’ll come across plenty of tutorials explaining how to install BSD-based systems. Many of them are detailed and useful, but when it comes to working with cloud images, the process can be much faster but it does involve an extra step where you need to install an additional package called incus-migrate. This tool simplifies the migration and deployment process, making it much more efficient. The good news is that incus-migrate isn’t difficult to get your hands on. It’s available through the Zabbly package repository, and even included directly in Debian 13 (Trixie/Testing). With that in place, you can proceed easily and get your BSD system up and running in no time but first let’s install it by simply running the following command:
apt-get update
apt-get install -y incus-migrate
Download FreeBSD, OpenBSD or NetBSD Cloud Image
To avoid creating our own cloud images we will use the ready-to-use images from bsd-cloud-image.org and hcartiaux. They’re creating and maintaining images for FreeBSD, NetBSD, OpenBSD and DragonflyBSD. Those images come with cloud-init and support all major cloud providers. Keep in mind, this are unofficial images but tested on OpenStack and NoCloud.
# FreeBSD
14.2 UFS: https://object-storage.public.mtl1.vexxhost.net/swift/v1/1dbafeefbd4f4c80864414a441e72dd2/bsd-cloud-image.org/images/freebsd/14.2/2024-12-08/ufs/freebsd-14.2-ufs-2024-12-08.qcow2
14.2 ZFS: https://object-storage.public.mtl1.vexxhost.net/swift/v1/1dbafeefbd4f4c80864414a441e72dd2/bsd-cloud-image.org/images/freebsd/14.2/2024-12-08/zfs/freebsd-14.2-zfs-2024-12-08.qcow2

# NetBSD
10.1 UFS: https://object-storage.public.mtl1.vexxhost.net/swift/v1/1dbafeefbd4f4c80864414a441e72dd2/bsd-cloud-image.org/images/netbsd/10.1/2025-02-15/ufs/netbsd-10.1-2025-02-15.qcow2

# OpenBSD
7.7 UFS: https://github.com/hcartiaux/openbsd-cloud-image/releases/download/v7.7_2025-04-28-11-38/openbsd-min.qcow2
We can now simply fetch the images by the given URL with wget. For example, we can download the FreeBSD 14.2 ZFS image with the following command:
wget https://object-storage.public.mtl1.vexxhost.net/swift/v1/1dbafeefbd4f4c80864414a441e72dd2/bsd-cloud-image.org/images/freebsd/14.2/2024-12-08/zfs/freebsd-14.2-zfs-2024-12-08.qcow2Migrate the Cloud Image
The last step is to migrate the cloud image (mostly a qcow2, raw or vmdk image) by invoking the incus-migrate command. Therefore, we can simply run the command without any further parameters:
incus-migrateAfterwards, we need to answer some additional questions like the source path of our cloud image and which kind of type we want to create. Take care, we need to create a virtual-machine (type 2):
The local Incus server is the target [default=yes]:
Would you like to create a container (1) or virtual-machine (2)?: 2
Name of the new instance: freebsd
Please provide the path to a disk, partition, or qcow2/raw/vmdk image file: freebsd-14.2-zfs-2024-12-08.qcow2
Does the VM support UEFI booting? [default=yes]: no

Instance to be created:
  Name: freebsd
  Project: default
  Type: virtual-machine
  Source: freebsd-14.2-zfs-2024-12-08.qcow2
  Source format: qcow2
  Config:
    security.csm: "true"
    security.secureboot: "false"

Additional overrides can be applied at this stage:
1) Begin the migration with the above configuration
2) Override profile list
3) Set additional configuration options
4) Change instance storage pool or volume size
5) Change instance network

Please pick one of the options above [default=1]:
Converting image "freebsd-14.2-zfs-2024-12-08.qcow2" to raw format before importing
Instance freebsd successfully created
Starting the Virtual Machine
Afterwards, incus-migrate already creates the whole VM object including all required settings. As a result, we can simply start the VM by the given instance name and find the VMs information:
incus start freebsd
incus list
+---------+---------+------+------------------------------------------------+-----------------+-----------+
|  NAME   |  STATE  | IPV4 |                      IPV6                      |      TYPE       | SNAPSHOTS |
+---------+---------+------+------------------------------------------------+-----------------+-----------+
| freebsd | RUNNING |      | fd42:c6d9:3bed:c325:1266:6aff:feae:8c1c (eth0) | VIRTUAL-MACHINE | 0         |
+---------+---------+------+------------------------------------------------+-----------------+-----------+
Depending on how you would like to manage the VM, you can customize the settings directly by using cloud-init or login on the console and perform manual actions:
incus console freebsd
To detach from the console, press: <ctrl>+a q
FreeBSD/amd64 (localhost) (ttyu0)
login: 
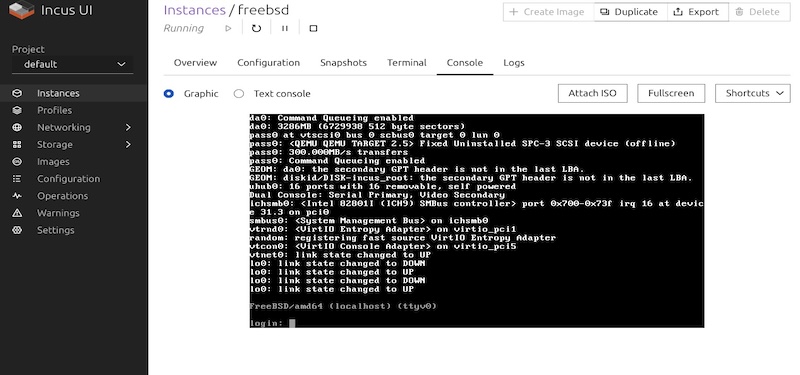
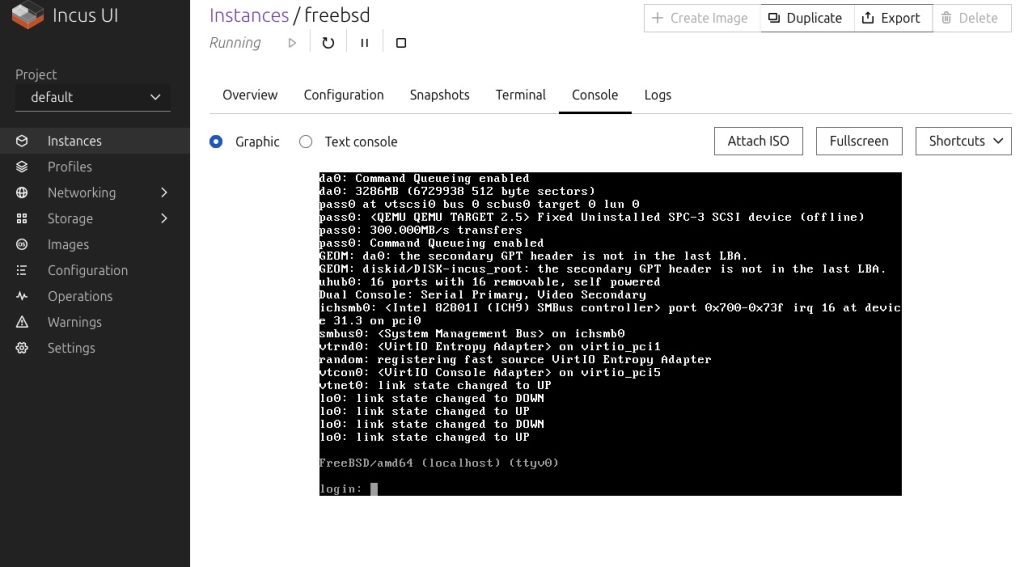
If you’re using the Incus UI, you can of-course also use this with the integrated console to manage your newly created vm.
Conclusion
One of the most notable aspects of Incus is its ability to support BSD-based systems, demonstrating that these operating systems can be smoothly operated within its framework. Integrating BSD into Incus is surprisingly straightforward, especially when using cloud images specifically tailored for BSD. These images are easy to work with and can be deployed without much hassle. The process becomes even more seamless with the help of the incus-migrate tool, which plays a crucial role in converting existing images and setting up guest instances. It ensures that all necessary metadata and configuration details are properly handled, making the transition into Incus as smooth as possible. This combination of features makes Incus not only flexible but also highly practical for environments that aim to include BSD systems in their container or VM infrastructure.
